Here’s a video to conduct live assessments via web. Please check out the blog article below if you prefer conducting from Mobile or just prefer reading an article to know about it.
1. Select the ‘Live Assessment’ module present on the home screen of your web page. Once selected the module a list view of the previously created live assessments are displayed
2. Select the ‘Create New Live Assessment’ button to create a new assessment.

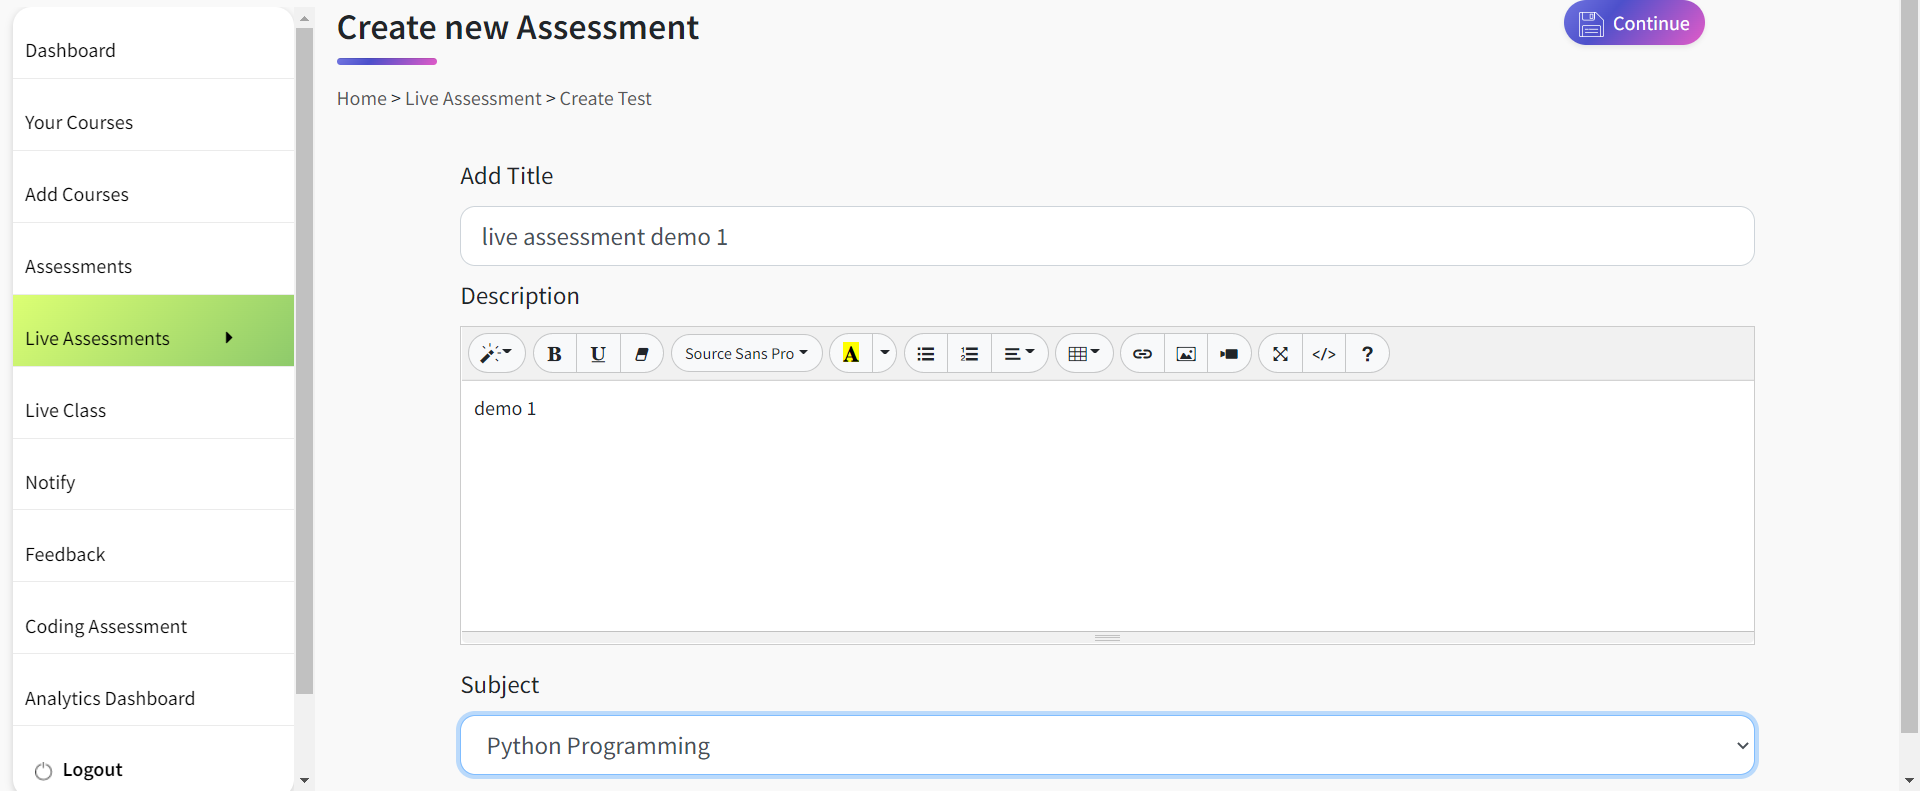
3. Once selected, the create test page appears. Enter the valid assessment Title, Description and select the Subject from the list shown in the dropdown.
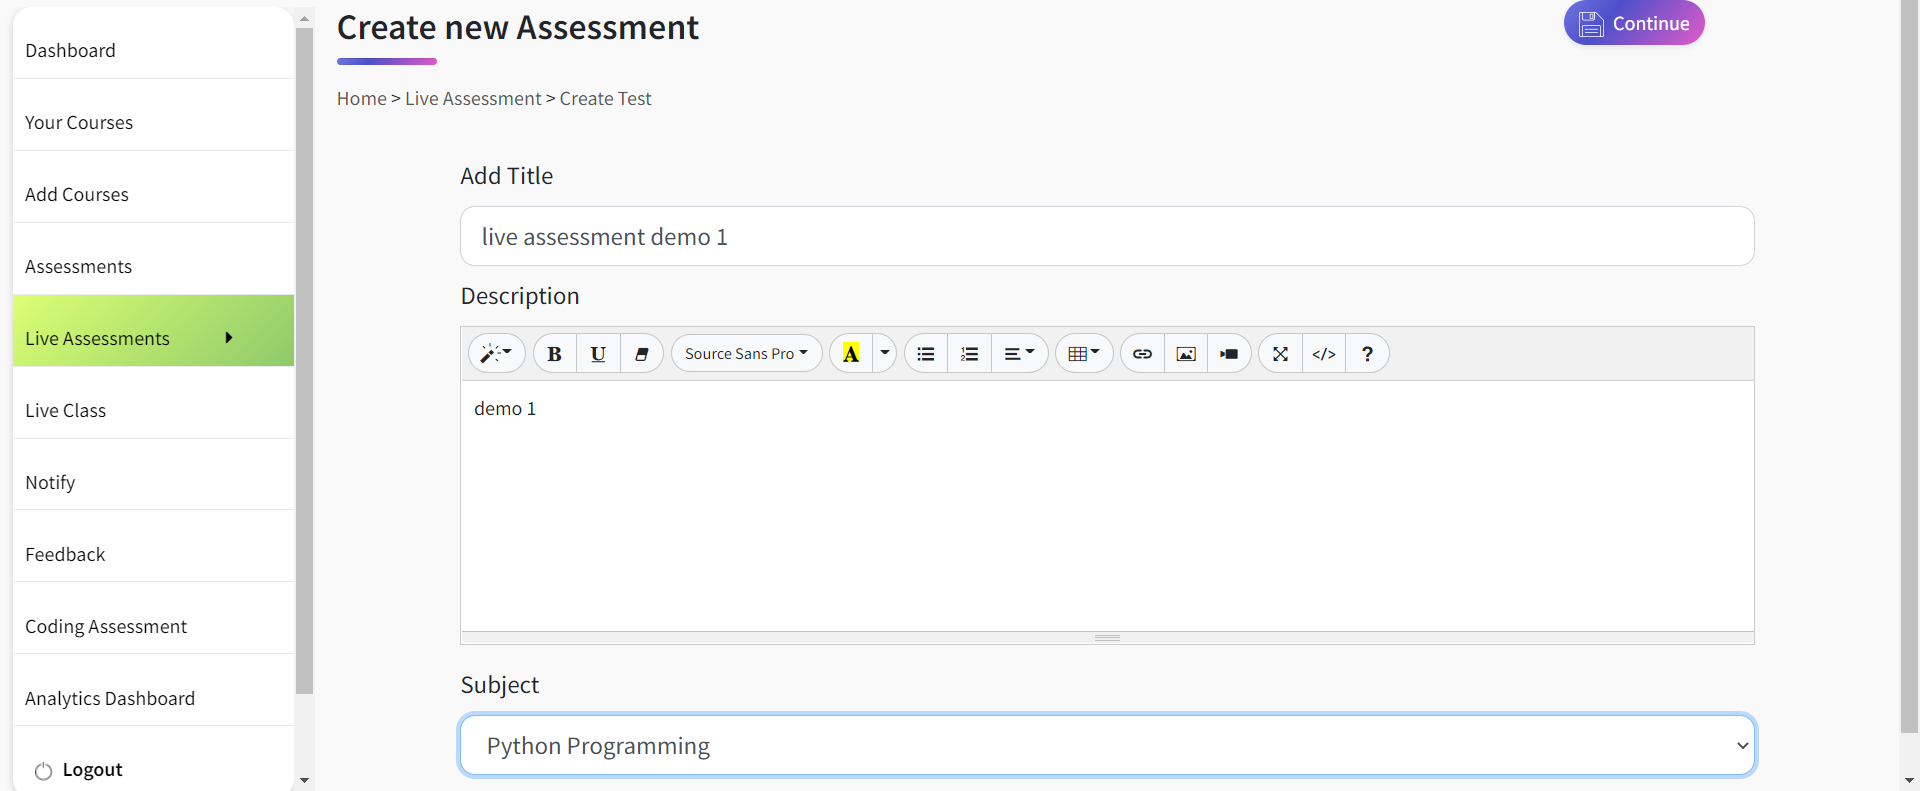

4. Select the continue button to create the test and navigate to the add question page.
Adding Questions to the Assessment Manually:
5. Once the continue button is selected we will be able to view the add questions page
6. To add questions manually, provide the required question and options in the ‘question and options’ tabs given.
7. Select the ‘Add Another Option’ button to add more options to the existing question.

8. To add an image file for the question or option select the image icon on the right of their respective input fields.
- Select the required image and click on open to attach the file.
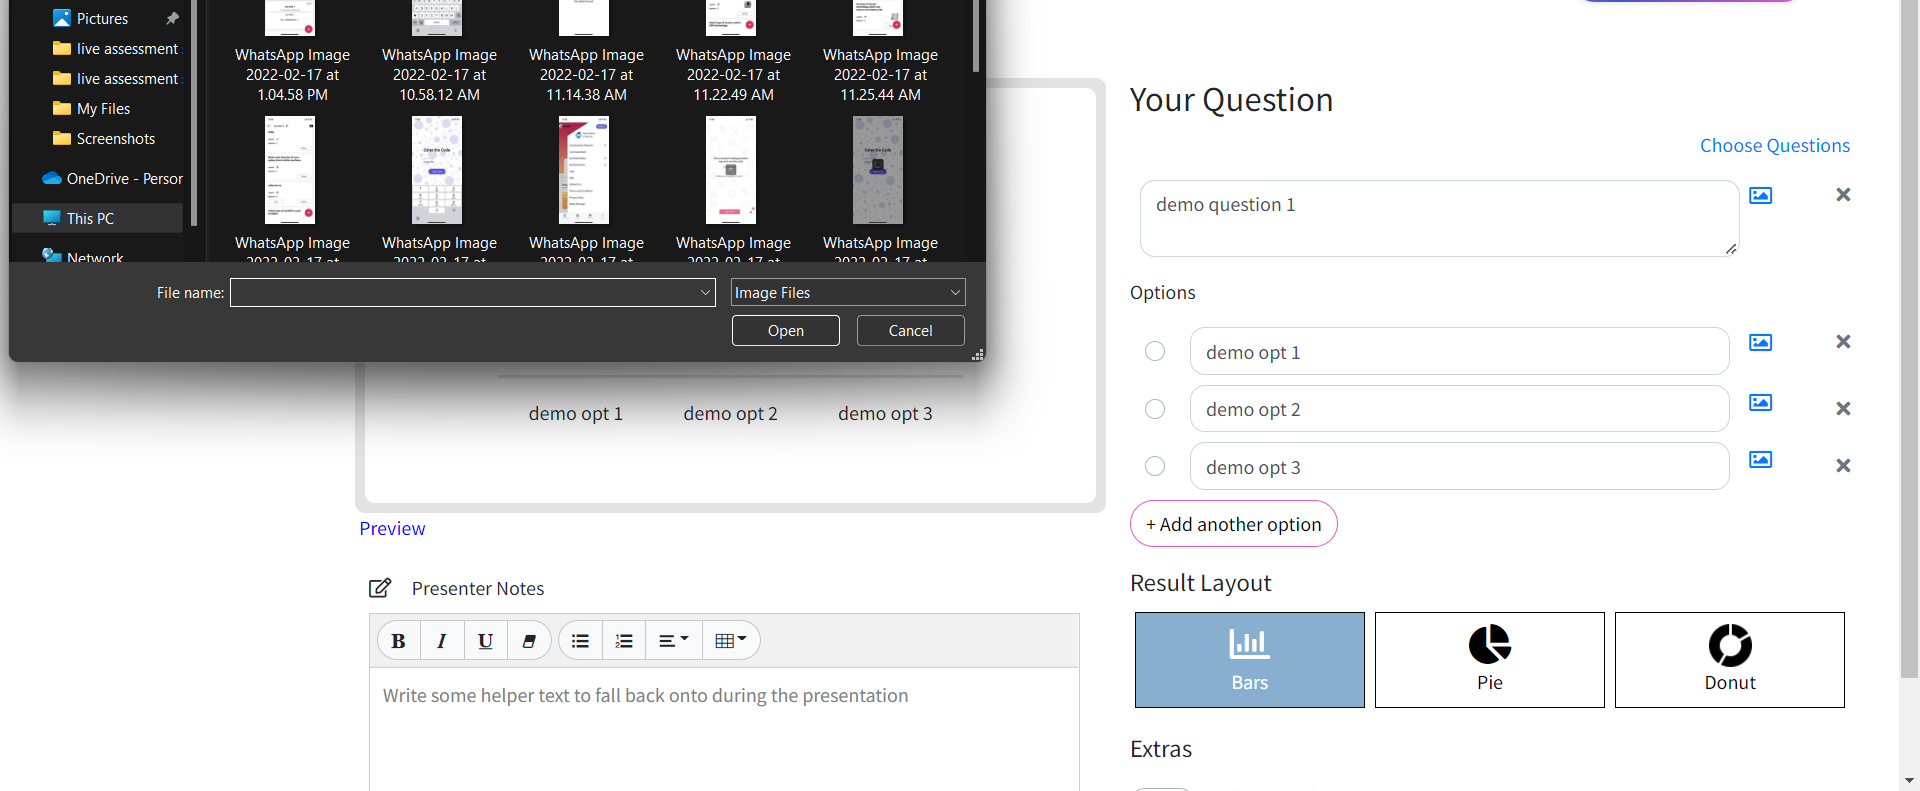
9. You can preview the images with the thumbnails given on the right of their respective input fields.
- Delete button can be used to delete the image file added to the question or option

10. Select the Result layout for the individual question from the list of layouts given below.
11. Toggle the ‘Show results in percentage’ button in order to show the results in the percentage.
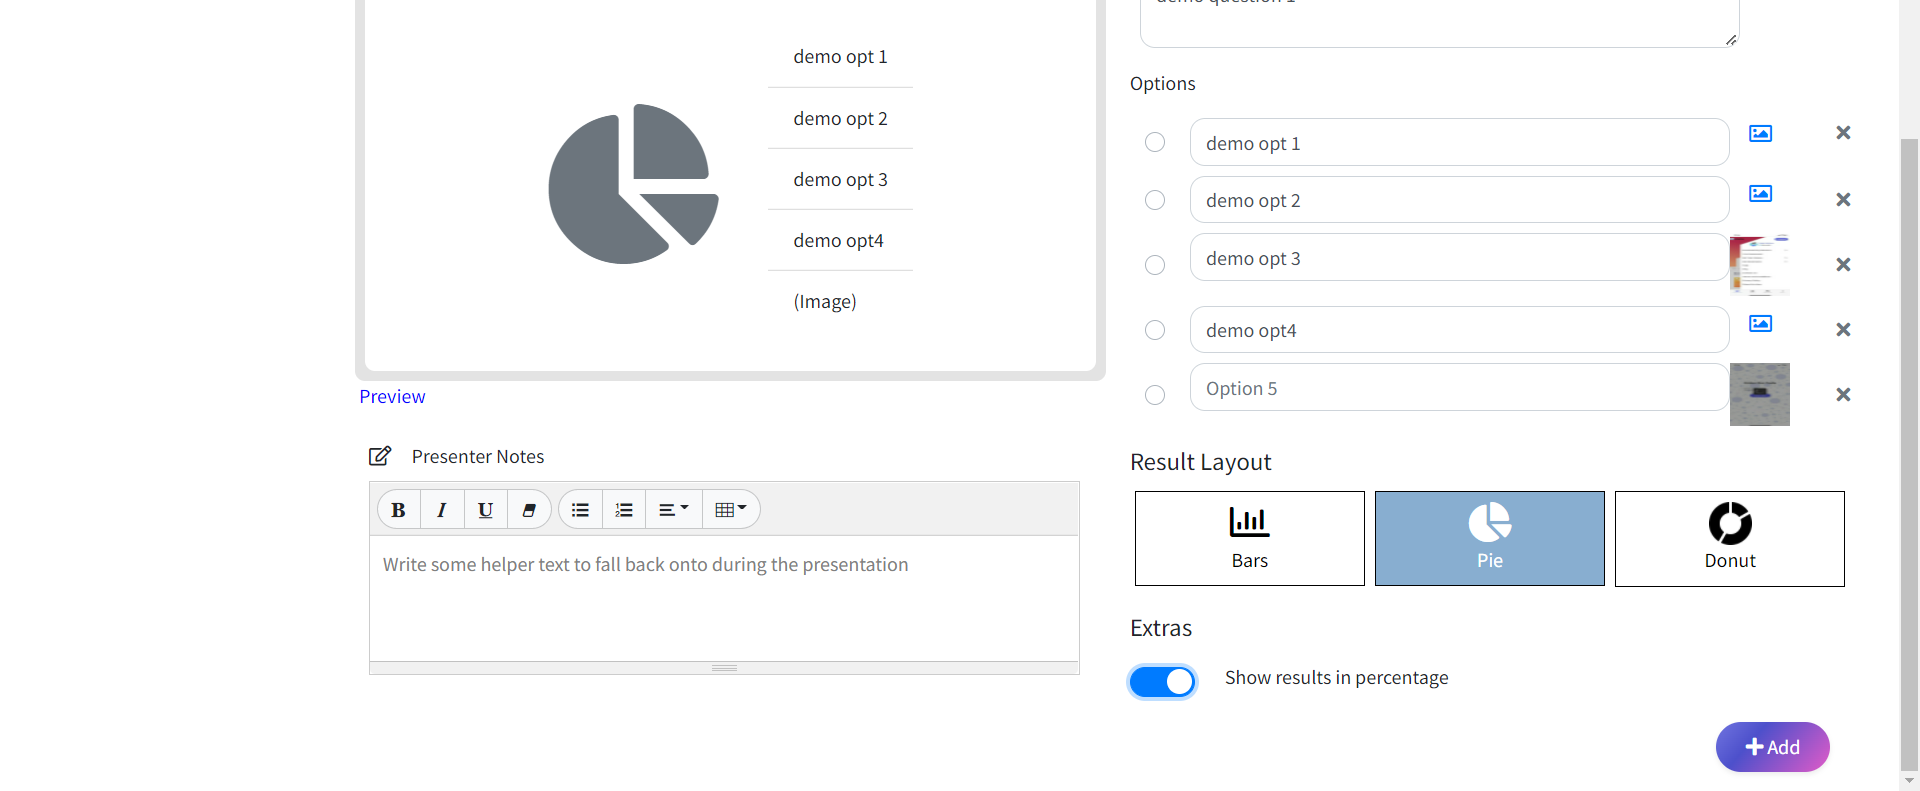
12. Select the preview text button to check the entered questions and options. (rendering of latex).

13. Select the add button to save the filled question to the question panel.

Adding the Questions from the Choose Questions Option :
14. To select the existing questions from the subject, click on the ‘Choose Questions‘ option given on the right.

15. Select the ‘Choose Questions‘ button to choose the required units and topics from the given list in the dropdown.
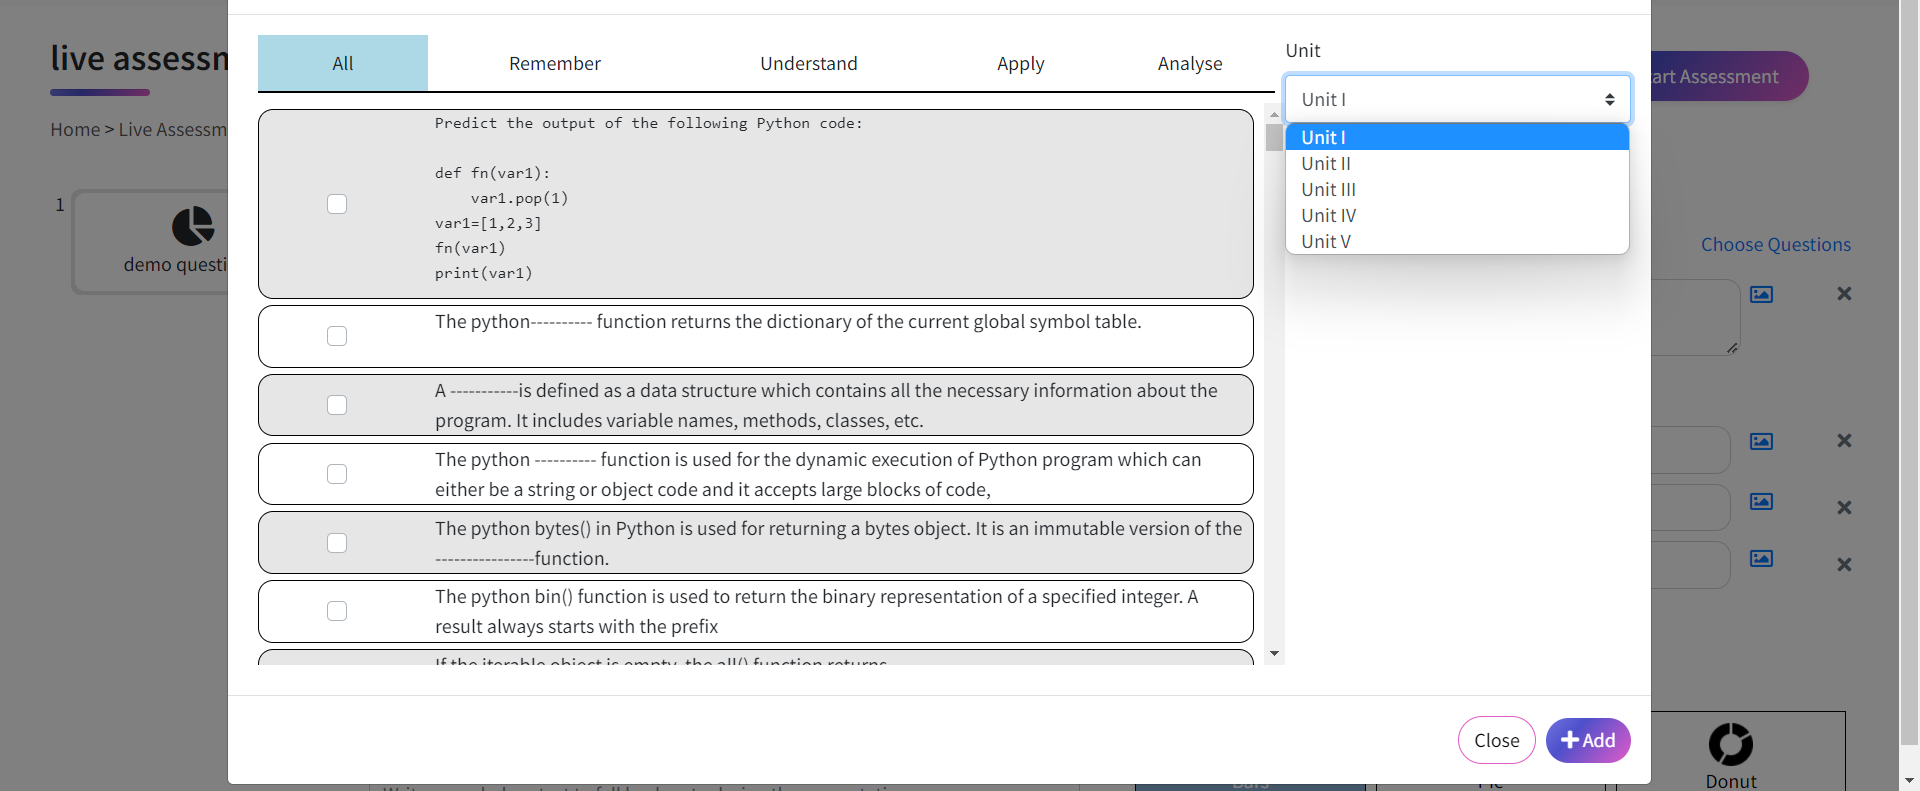
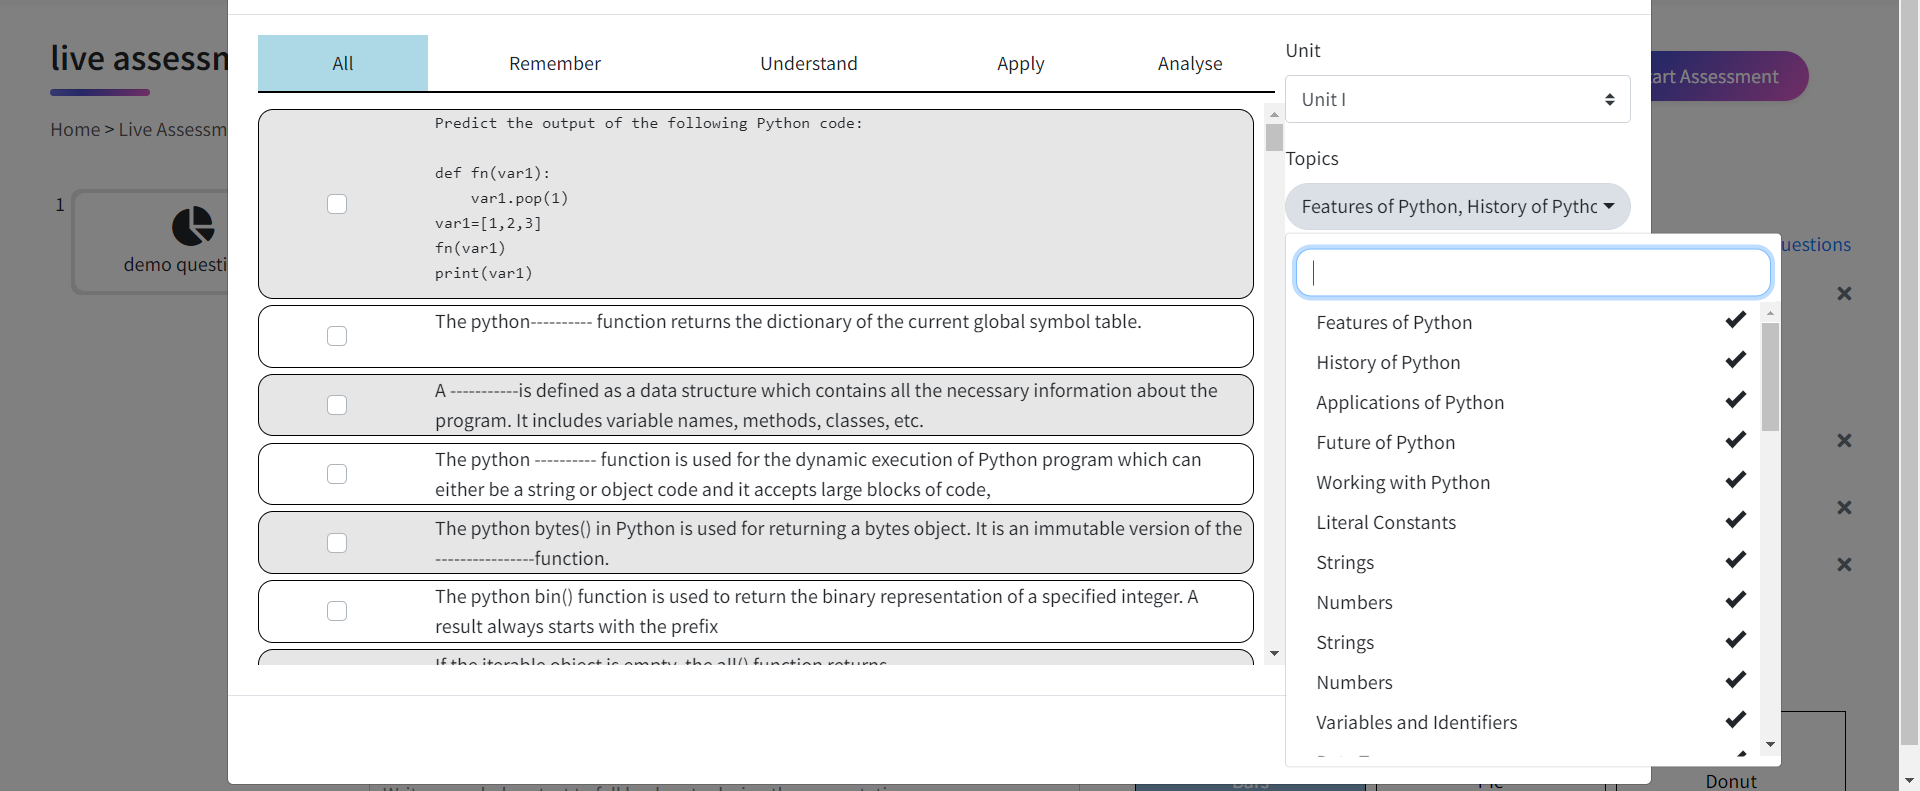
16. Select the required MCQs from the content provided in the selected unit and click the ‘+ Add ‘ button to add the selected questions to the questions panel.

Conducting the Assessment :
17. Once the questions are added select the ‘Start Assessment’ button to conduct the test.

18. Once the test has been started an automated test code gets generated wherein the students will be able to join the test with the code.

19. Once the students join the test by entering the code, the faculty will be able to see the number of students who have joined the test with their details.

20. Select the start live assessment button and confirm to send the questions to the students.

21. Once the live assessment has been started the faculty will be able to see the question and options.
- If the faculty intends to give a time constraint for attempting a particular question, they can select the ‘Start Countdown Timer’ button.
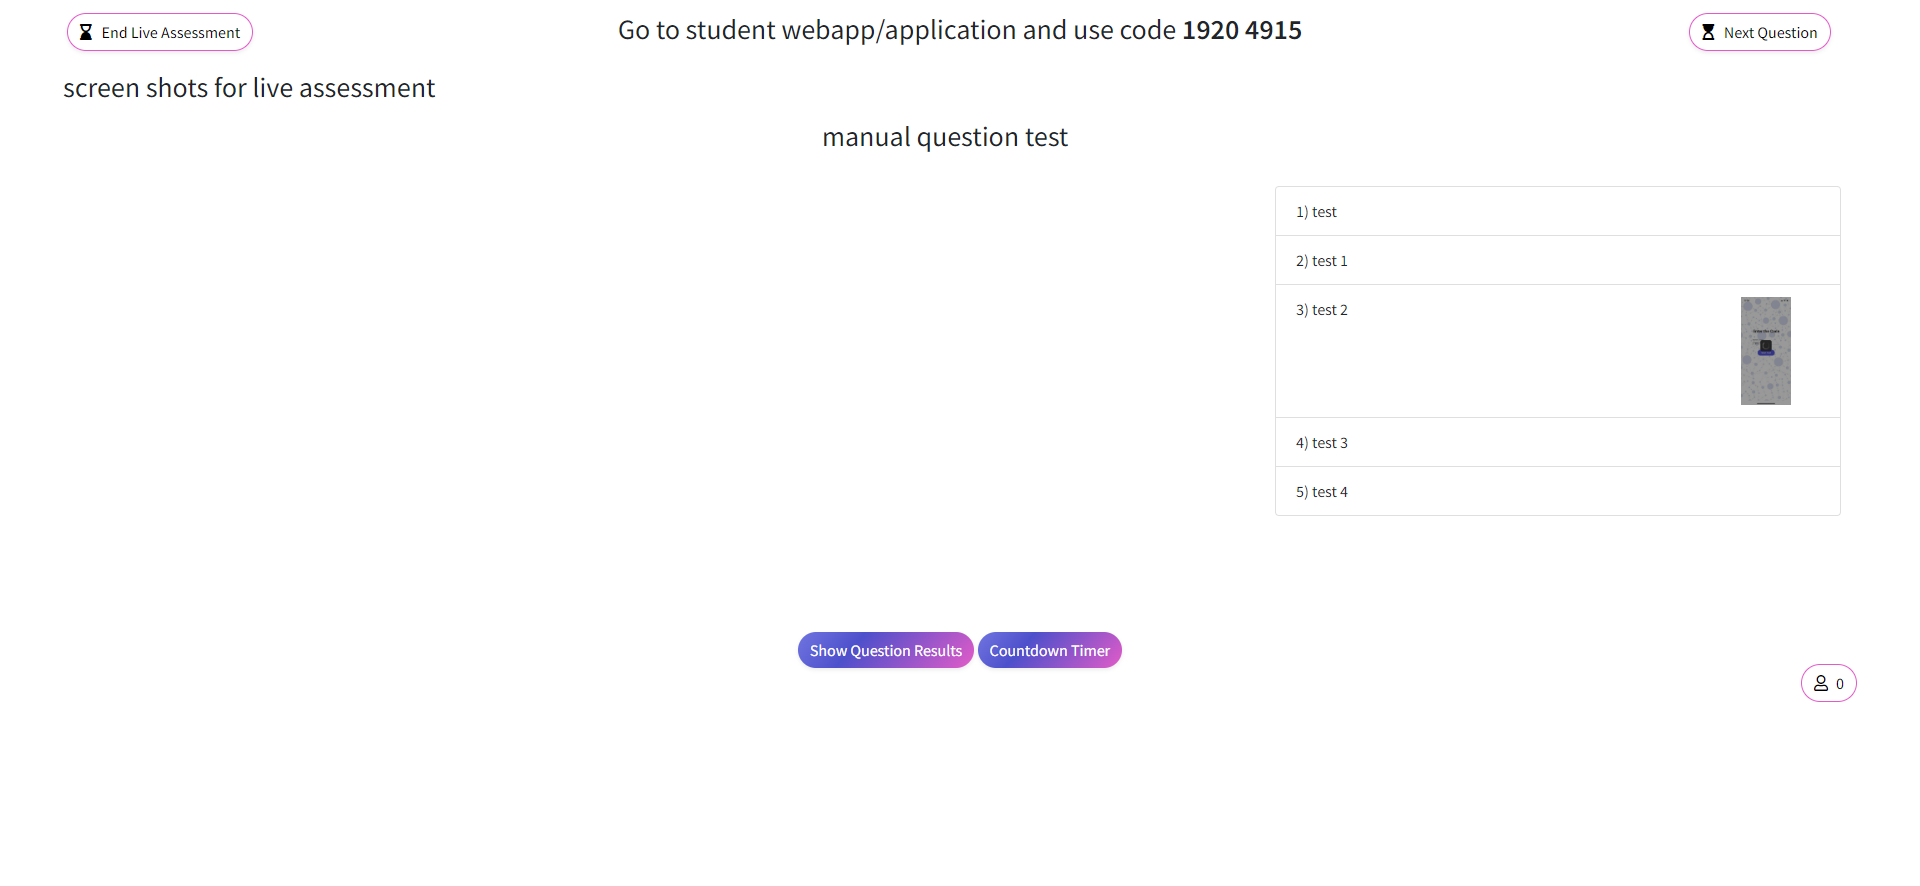
- Once clicked, they can select the countdown time (15s, 30s, etc..) from the dropdown, this is the time by when the students need to answer the question.
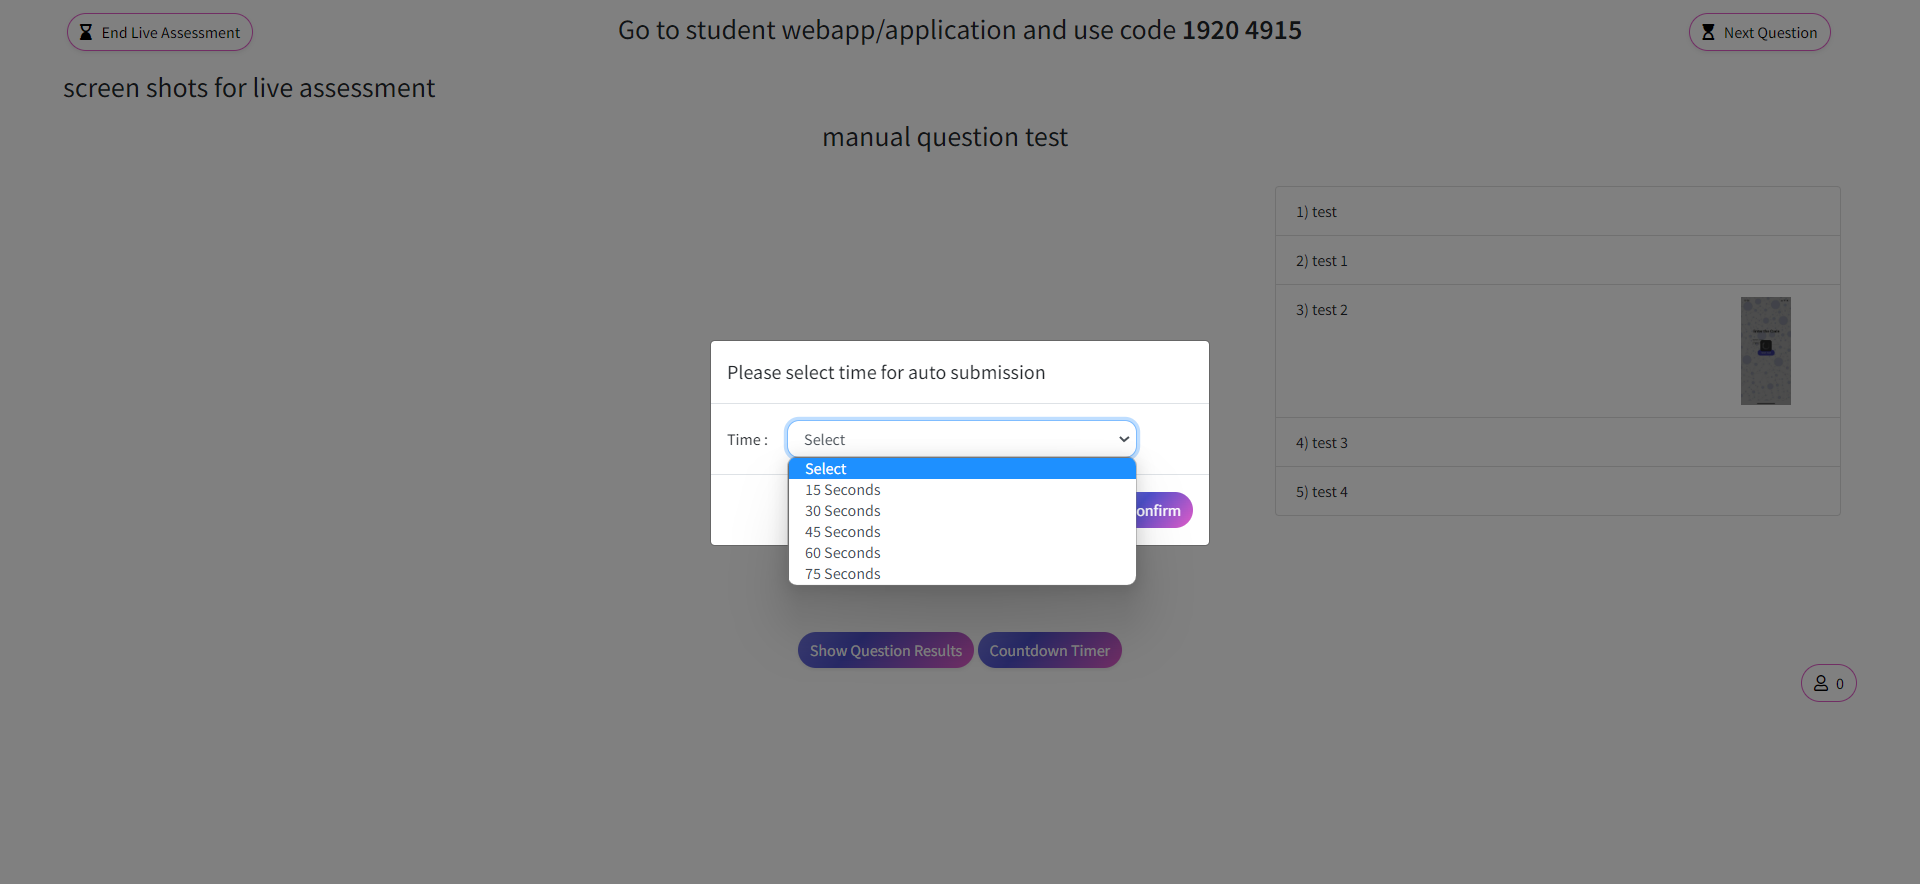
- Once confirmed, the timer starts for the student and the faculty will be able to see the countdown for the question from their end too.
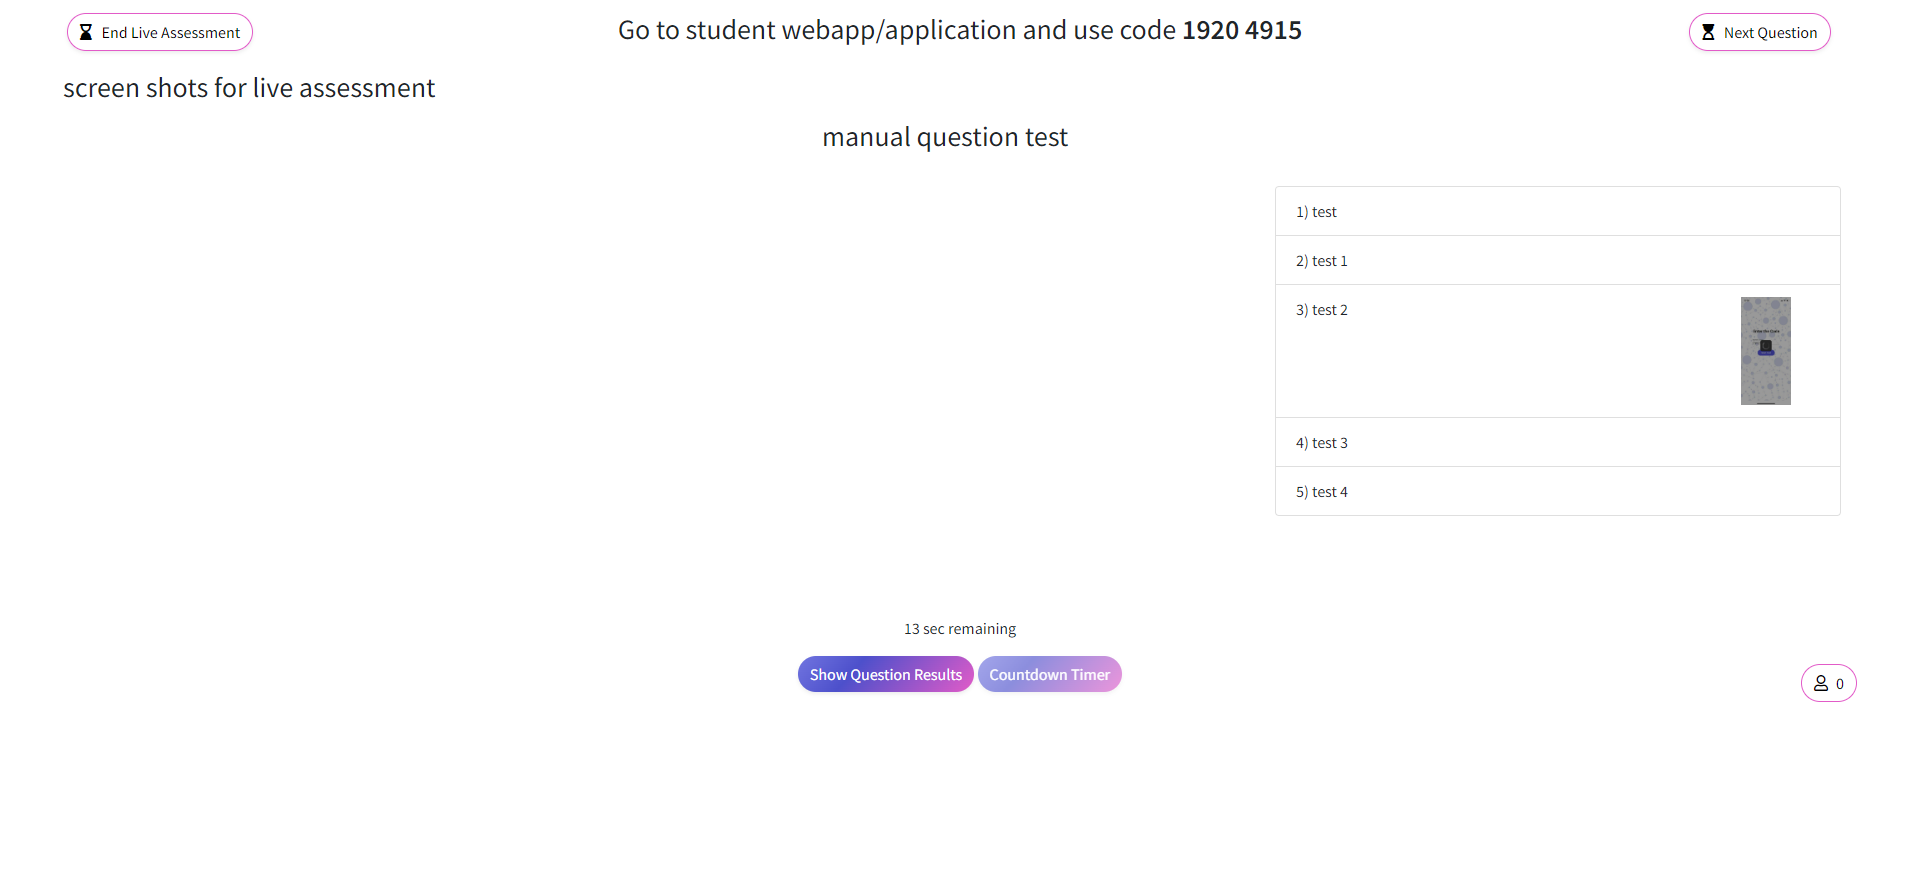
- When the students answer the question, the selected chart appears depicting the options selected and also the number of students who selected that respective option.

22. Select the ‘Show Question Results’ button and confirm in order to show the results to the students for that respective question.

23. After the question results are been displayed to the student, the faculty will also be able to view the results as green or red in the charts depicting the right and wrong answers.
24. Click on the ‘Next Question’ button and ‘Confirm’ to move to the next question.
25. Select the ‘End Live Assessment’ button and confirm to end the test.

26. Once the test is ended, the results page will be displayed to the faculty.
- To analyze the entered questions click on the ‘Question Analysis’ tab to get the details.

27. To analyze the students’ results with the percentage, marks, and other details select the student analysis text button to get the details.

28. If the faculty intends to present the test which has been already saved before, move to the list view in live surveys and select the present button present near the test.

29. If the faculty intends to view the results of the previously created test, select the view results button near the test.

CREATING A LIVE ASSESSMENT:
1. Select the menu option from the footer present in the dashboard and select the live assessment icon from the assessment list shown in the popup.
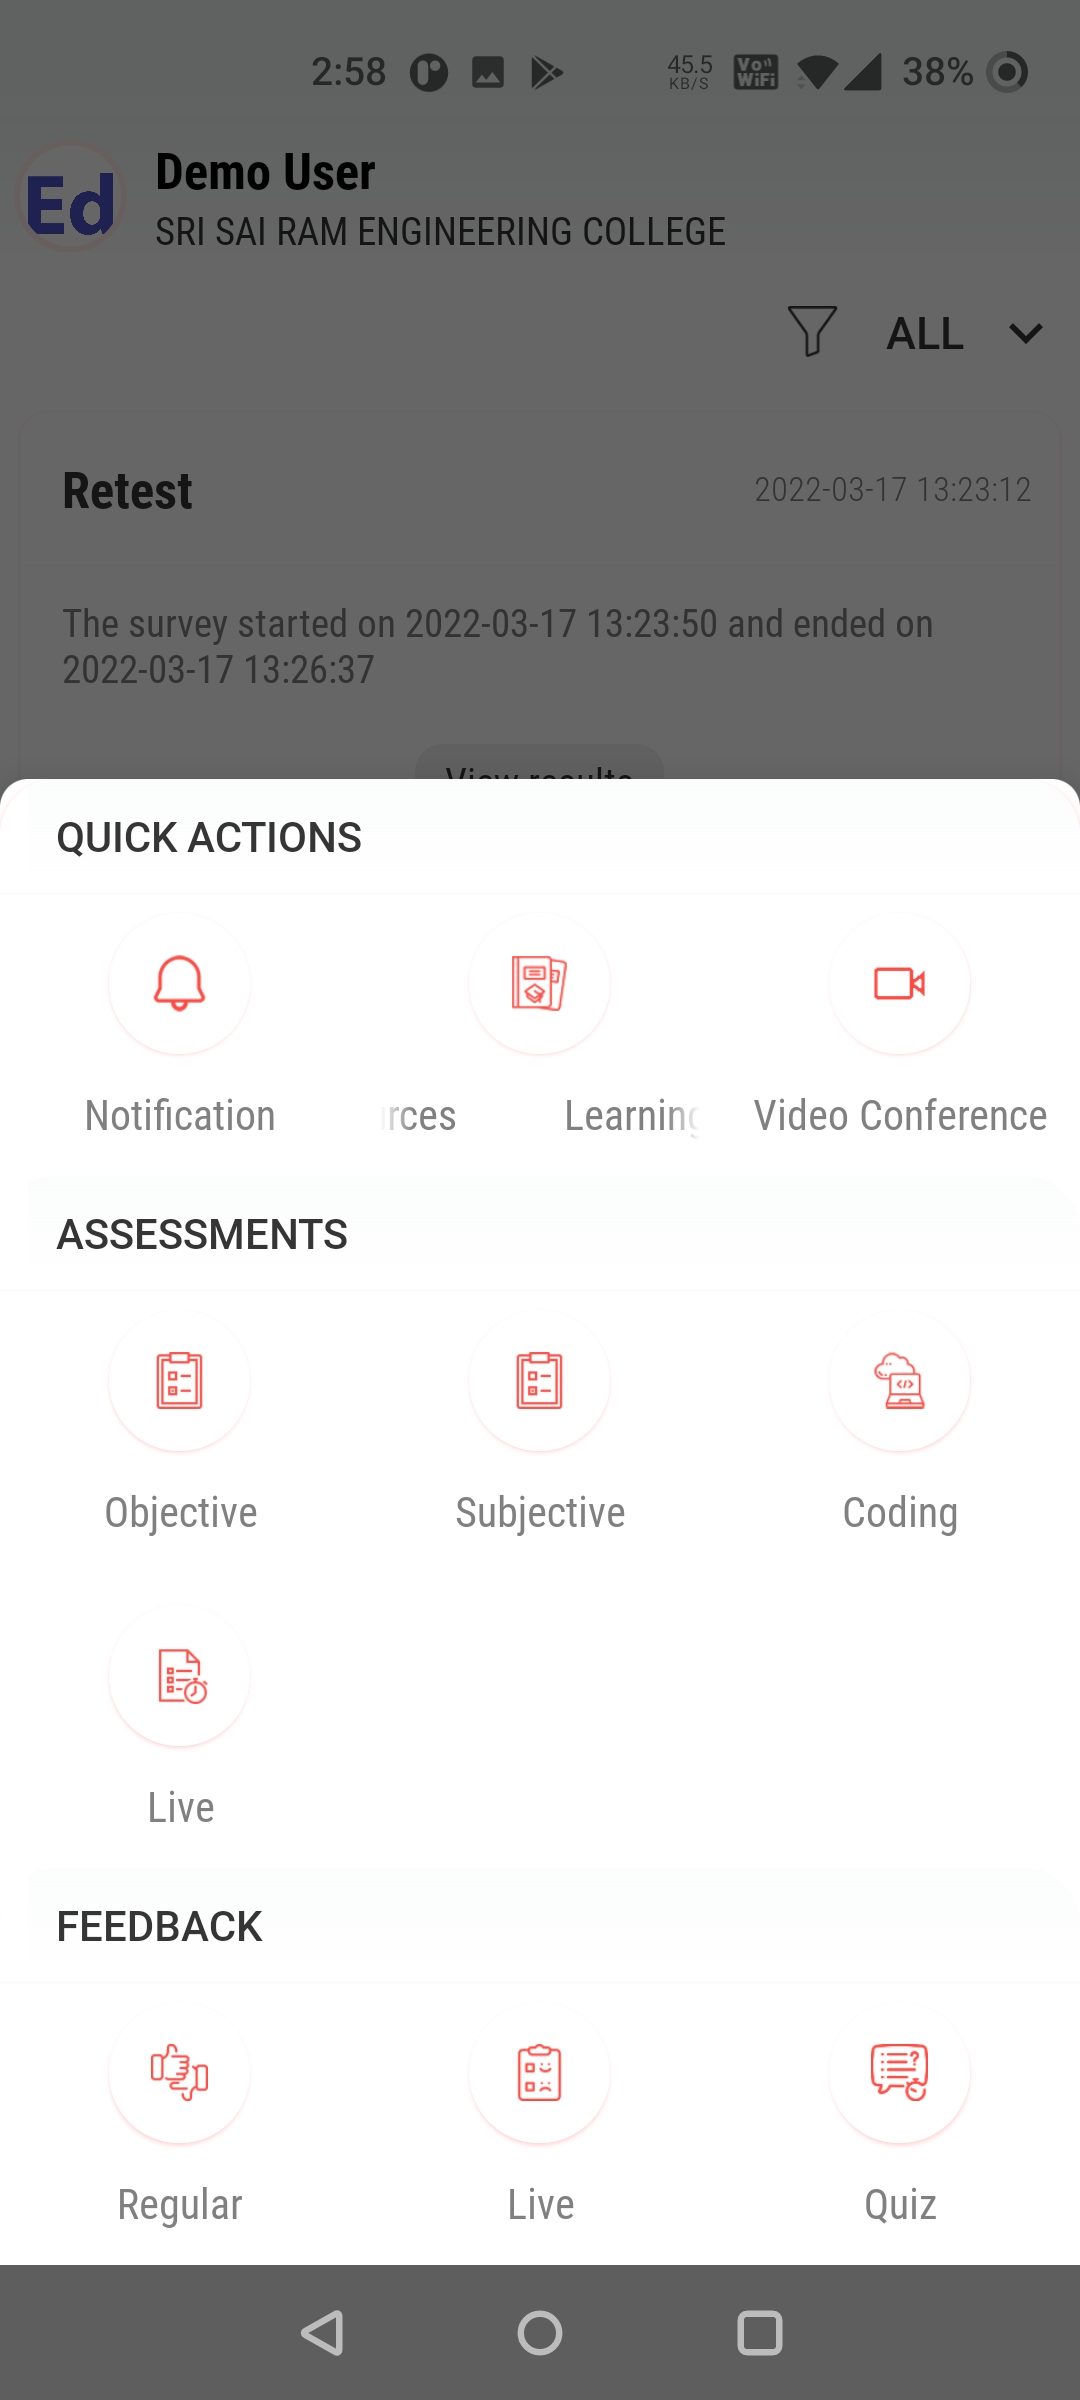
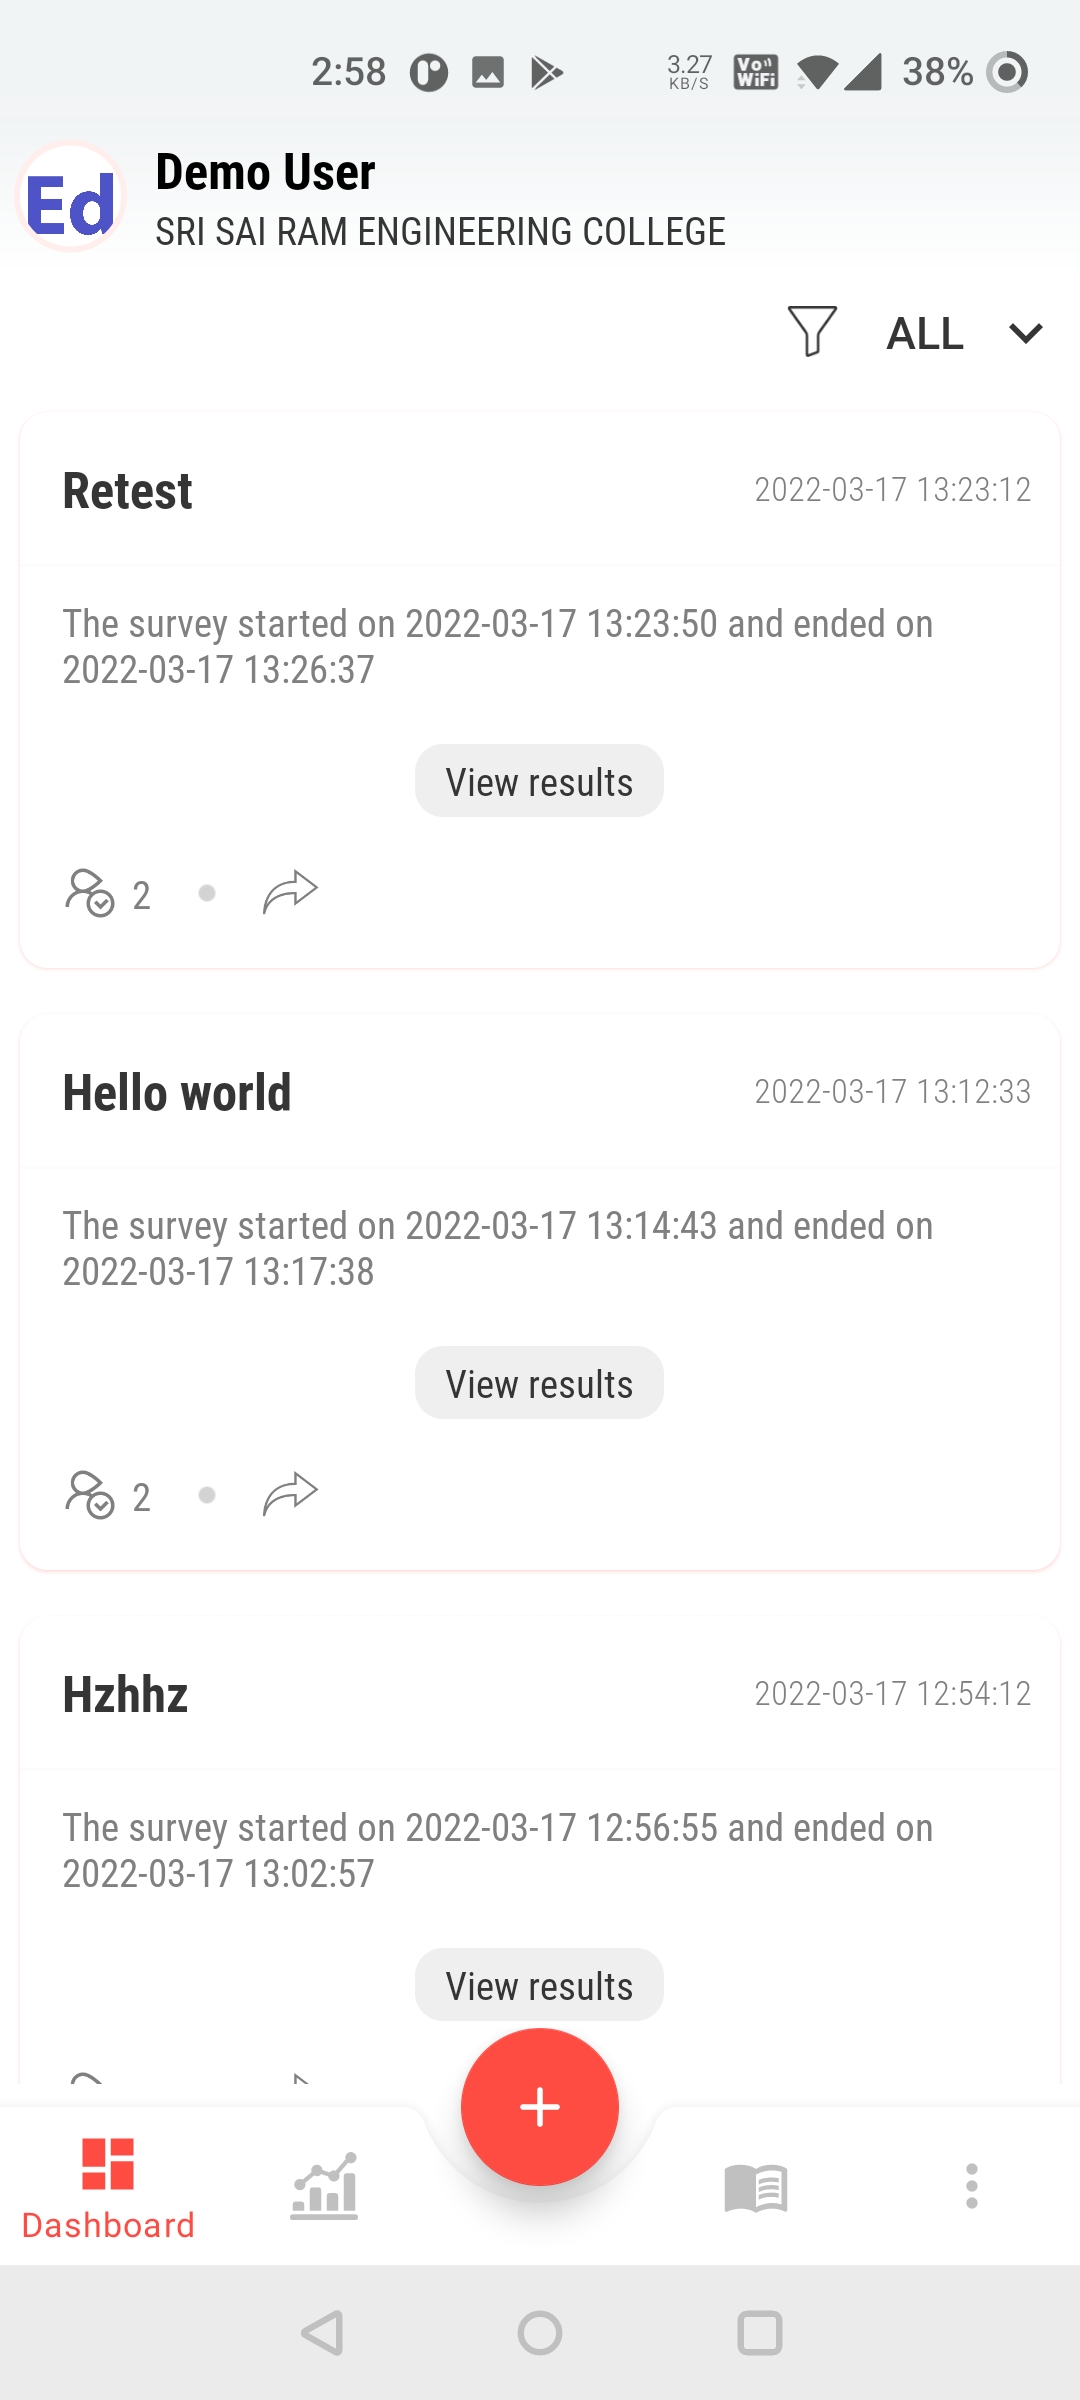
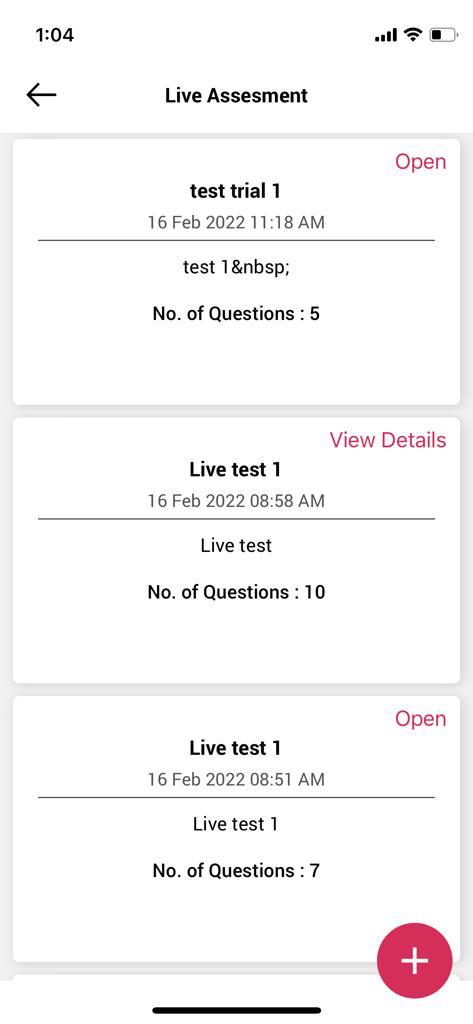
2. When selecting the live assessment icon the list view appears with all the created tests and create buttons.
3. Select the create test button to create a new assessment.
4. Once selected the create test button the create test page appears. Enter the valid test title and description and select the required subject from the list shown in the drop-down.
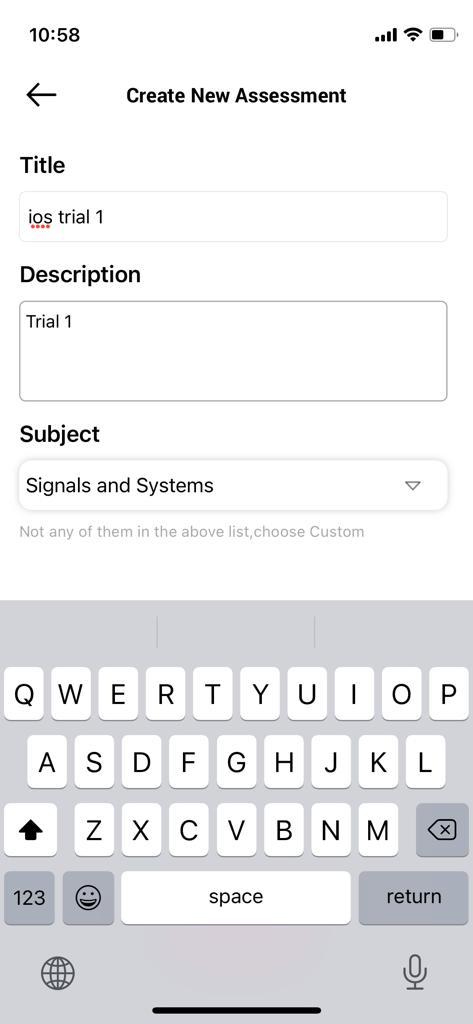
5. Select the continue button to create the test and navigate to the add question page.
ADDING QUESTIONS TO THE ASSESSMENT:
- ADDING THE QUESTIONS MANUALLY:
6. Once the continue button is selected, we will be able to view the add questions page
7. In order to send the questions manually provide the required question and options in the question and options tabs given.
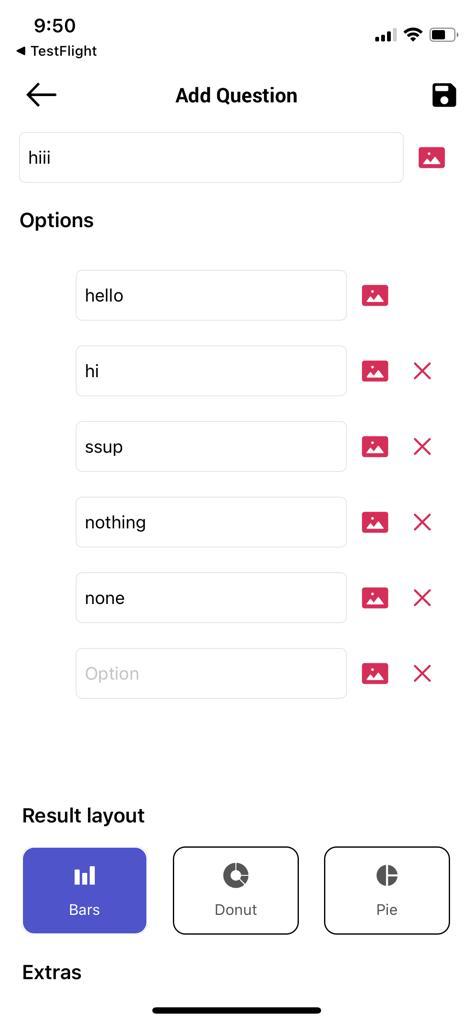
8. Select the add another option button to add more options for the existing question.
9. To add an image file for the question or option select the image icon present near the tabs. Select the required image file and click ok
10. Select the result layout for the question from the list of layouts given below.

11. The delete button can be used to delete the image file added to the question or option
12. Select the save button to add the entered question to the question panel
- ADDING THE QUESTIONS FROM THE CHOOSE QUESTIONS OPTION:
13. To select the predefined questions from the content provided select the choose questions option.
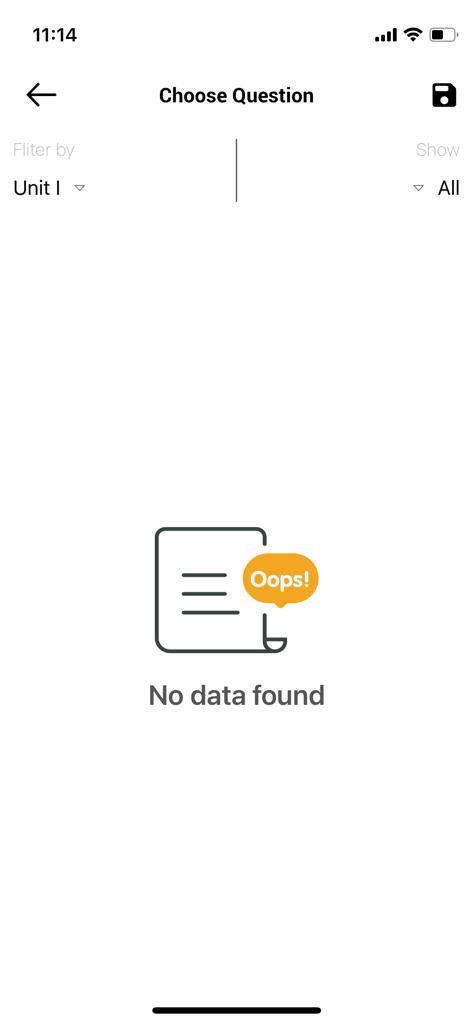
14. Select the choose question option and choose the required units and topics from the given list in the drop down. The questions can also be chosen according to the blooms.
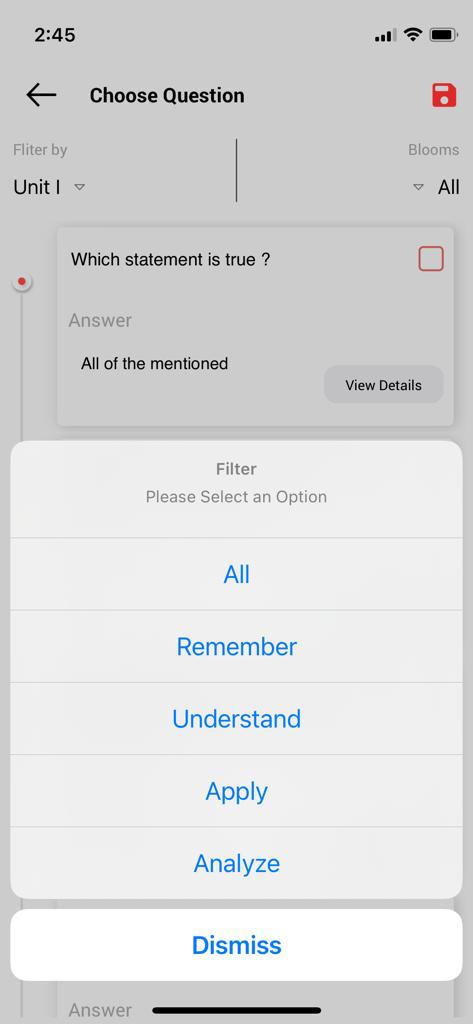
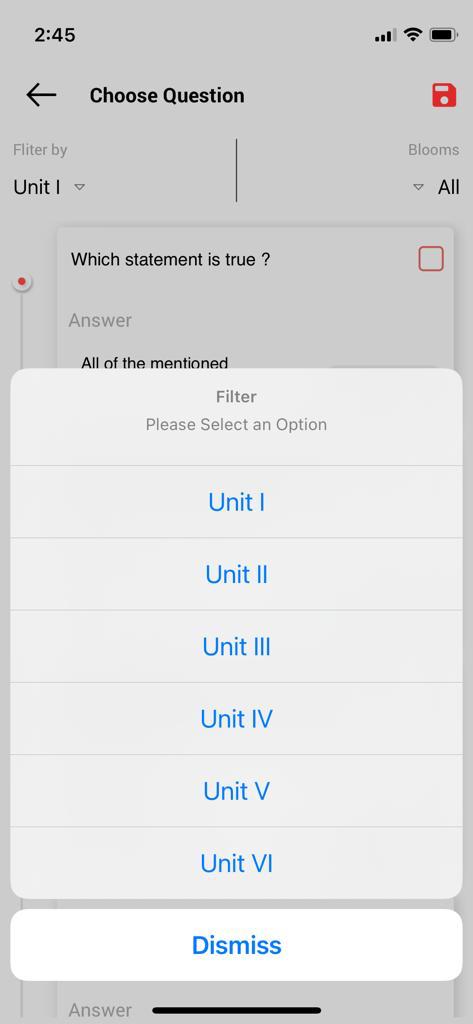
15. Select the required questions from the content provided in the selected unit and click the add button to add the selected questions to the questions panel.
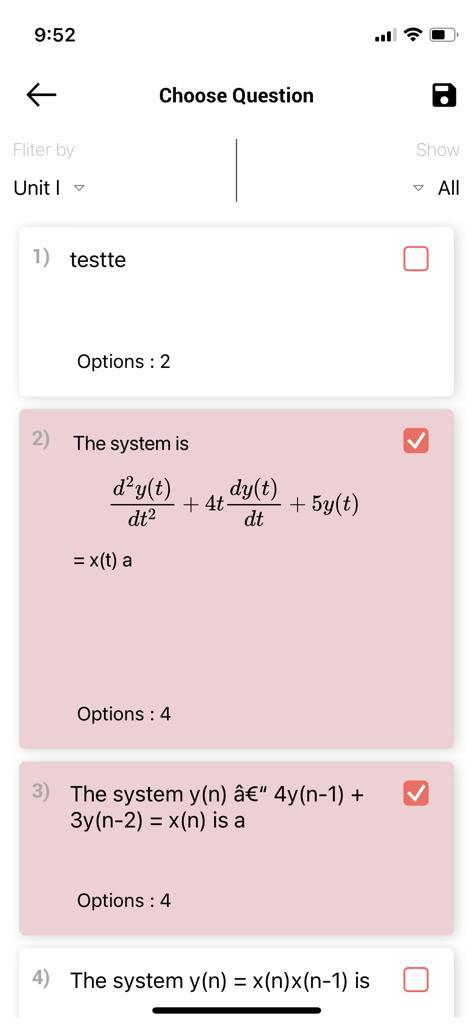
CONDUCTING THE ASSESSMENT:
16. Once the questions are added select the start assessment button(Present ) to conduct the test.
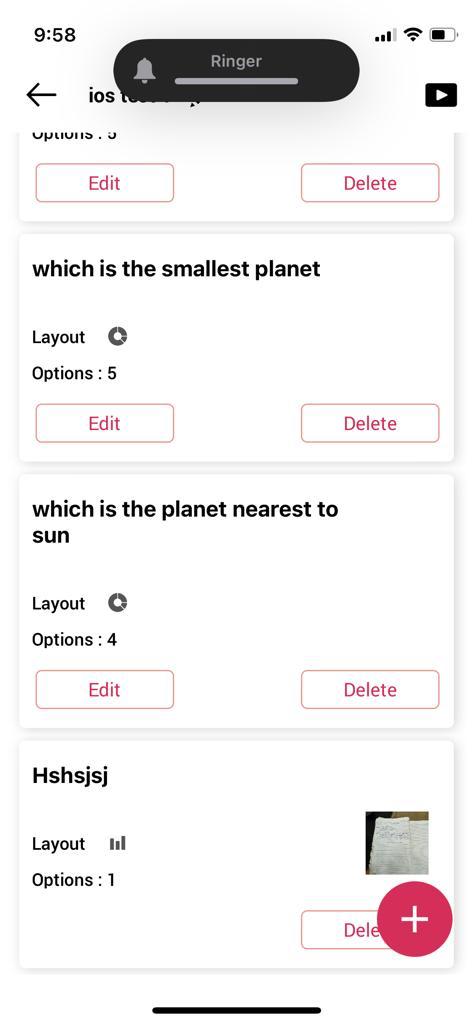
17. Once the test has been started an automated test code gets generated wherein the students will be able to join the test with the code.
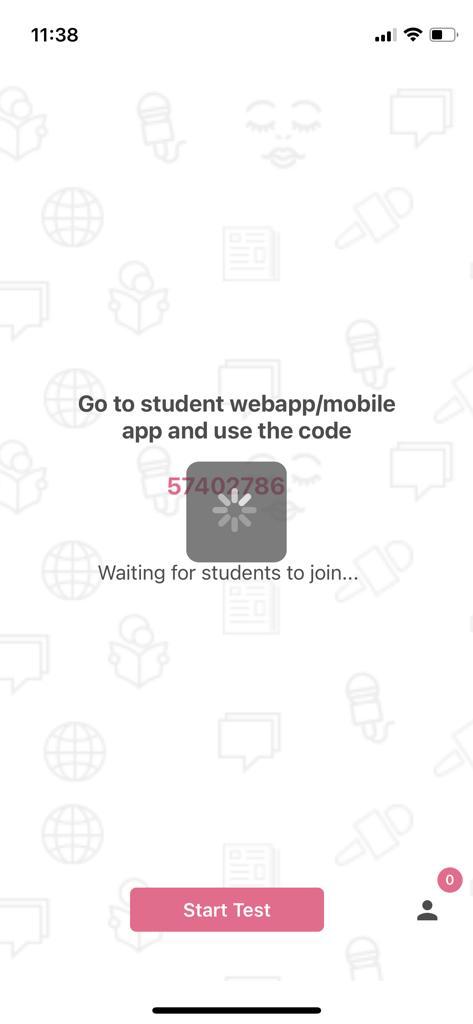
18. Once the students join the test by entering the code, the faculty will be able to see the number of students who have joined the test with their details.
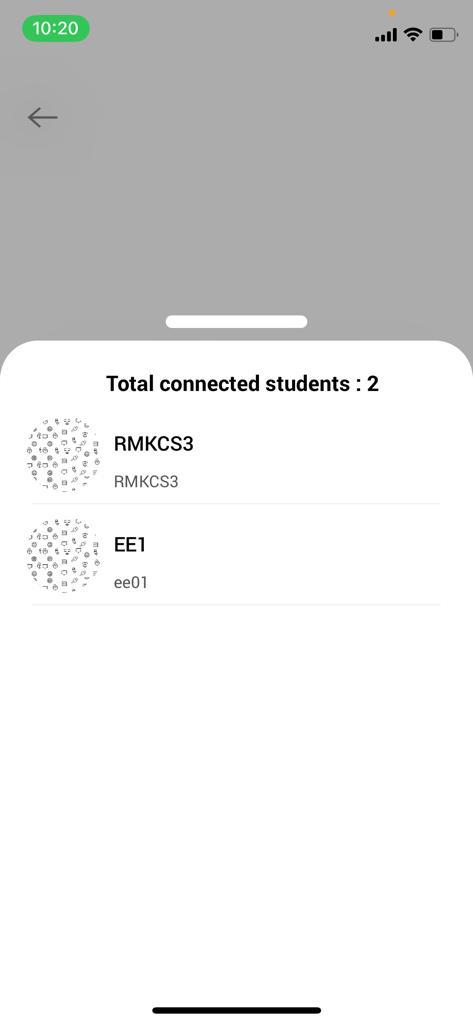
19. The student details can be viewed by selecting the user icon on the bottom right corner of the page.
20. Select the “start test” button and confirm to send the questions to the students.
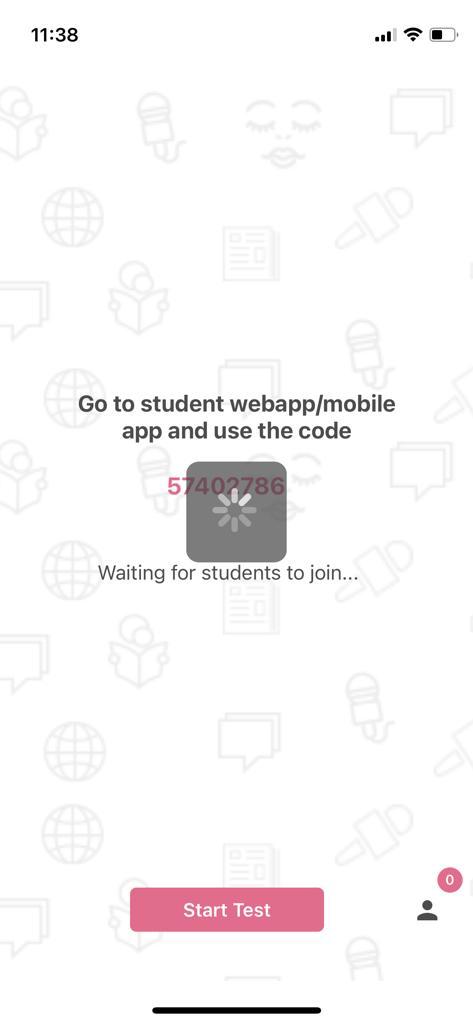
21. Once the live assessment has been started the faculty will be able to see the question and options.
- If the faculty intends to give a time constraint to the students for attempting a question, they can select the ‘Start Countdown Timer’ button.
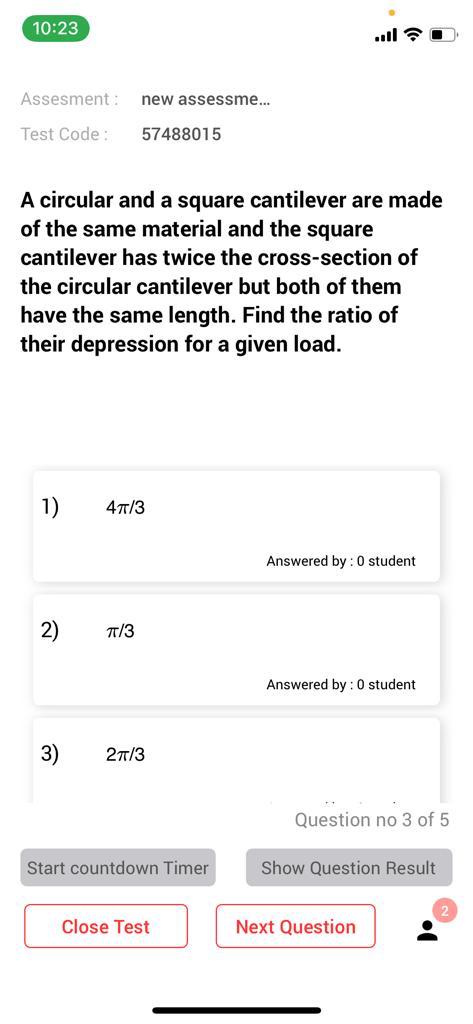
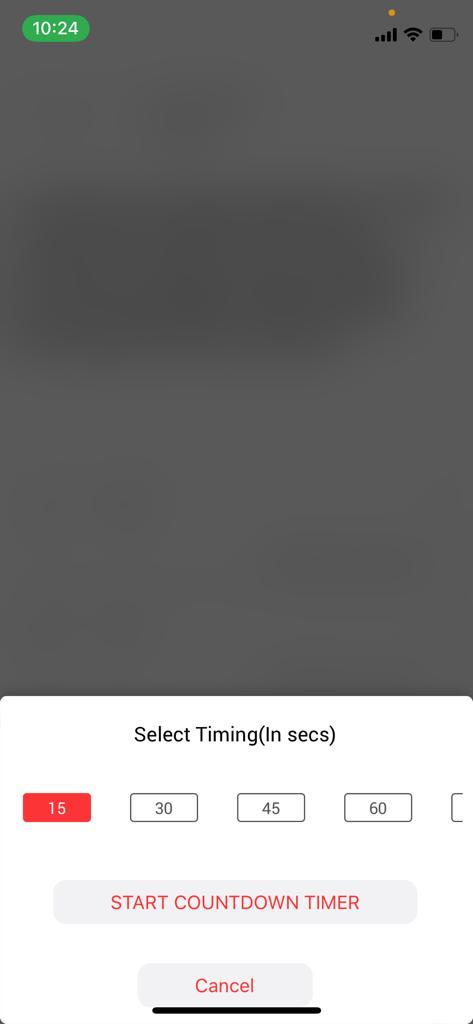
- Once the button is selected, they will be able to select the required time where the students have to answer the question. The faculty will be able to see the time from their end too.
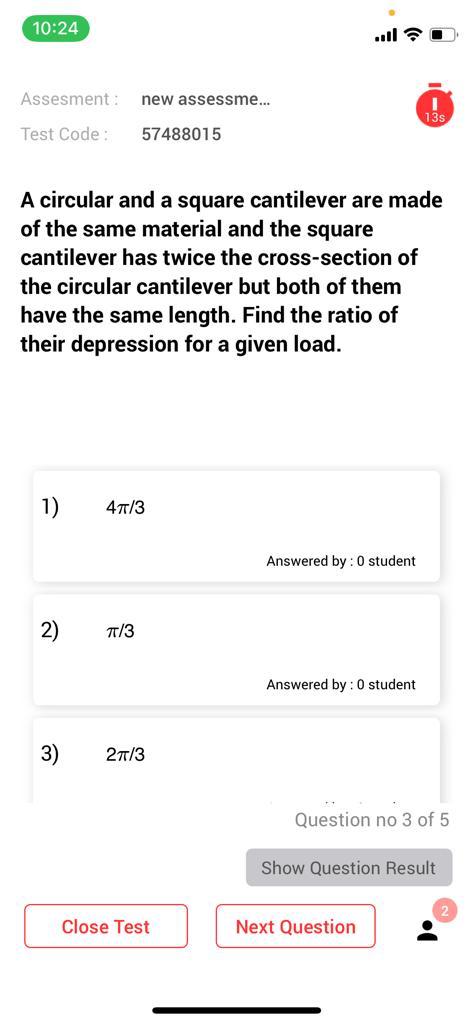
- When the students answer the question, the selected chart appears depicting the options selected and also the number of students selected that respective option.
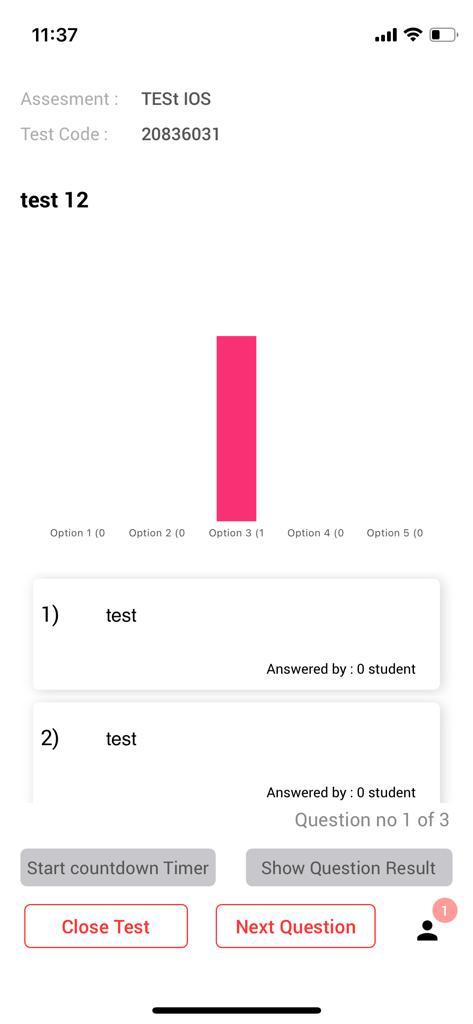
22. Click on the ‘Next Question’ button and ‘Confirm’ to move to the next question.
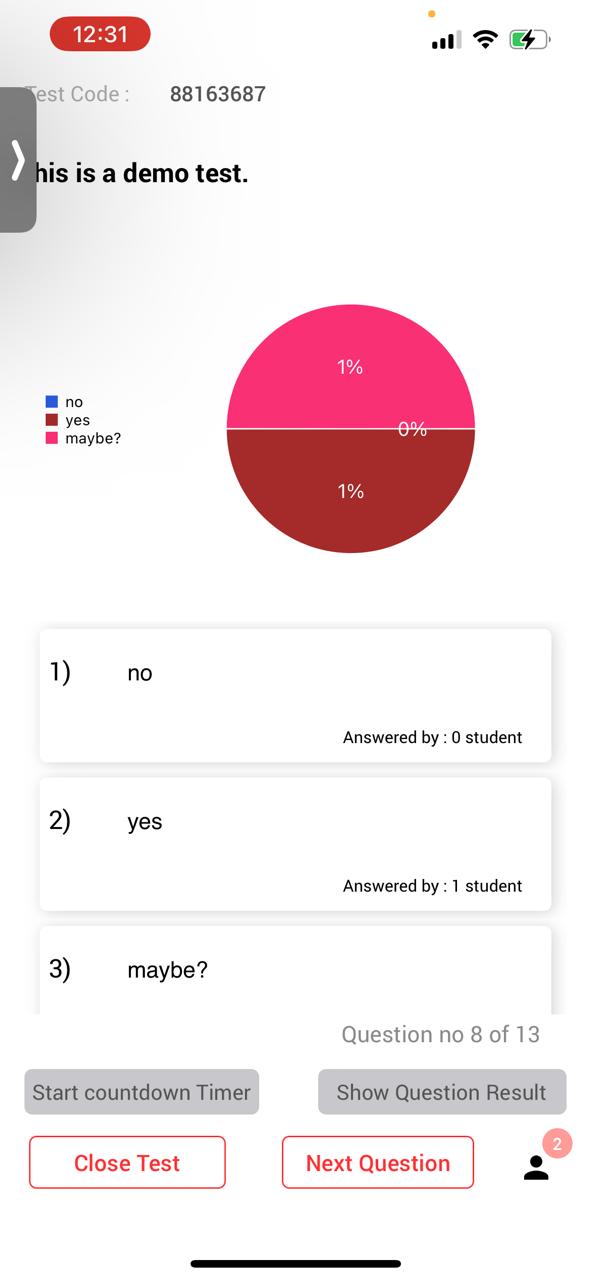
23. Select the ‘Close test ’ button and confirm to end the test.
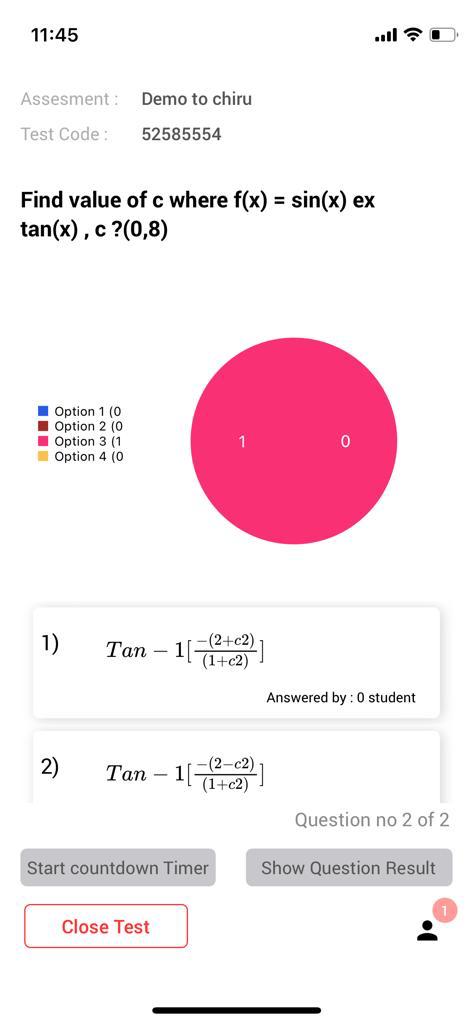
24. Once the test is completed, the results page will be displayed to the faculty.
- Select the view summary button to view the overall percentage and time taken by each and every student while attempting the assessment.
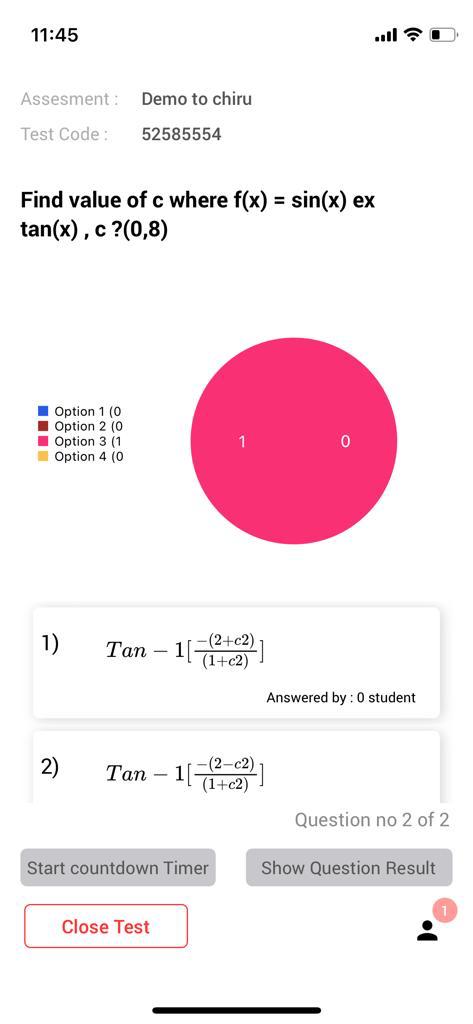
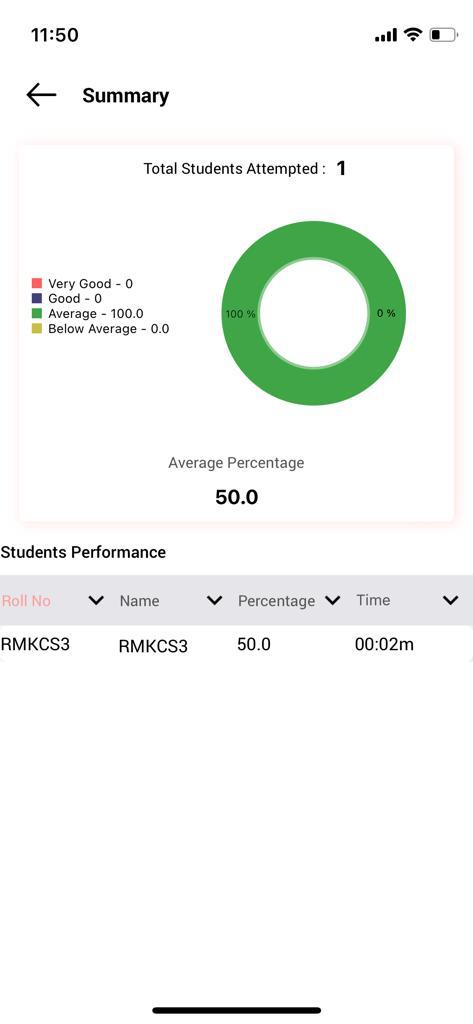
- To check the question-wise analysis for each and every question the faculty has to select the question and check the details.
25. If the faculty intends to present the test which has been already saved before, move to the list view in live surveys and select the present button present near the test.
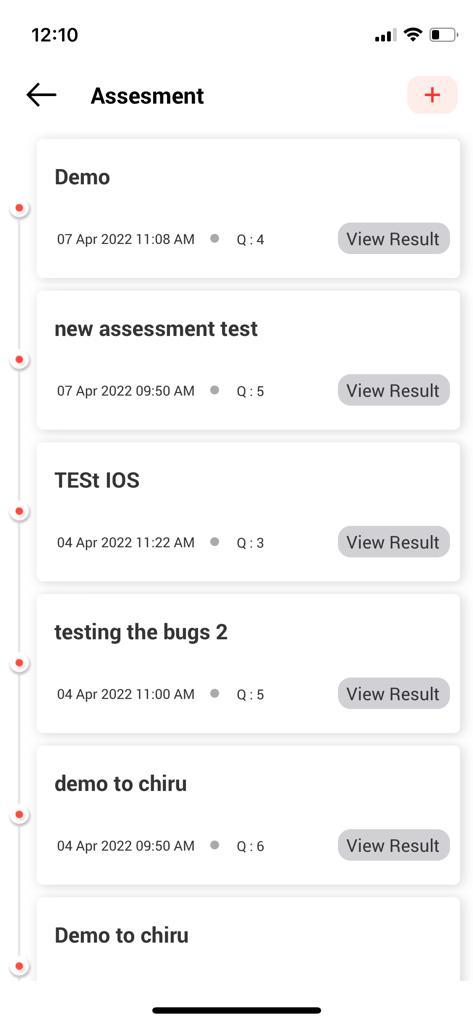
26. If the faculty intends to view the results of the previously created test, select the view results button near the test.


